In flower arranging, as in all art, technique is everything. Even for those of us who do not quiiiite think of ourselves as floral artists, knowing just a few basic techniques can help us do one better than mashing flowers into a vase and hoping they look alright. In that spirit, here are three essential floral design techniques for everyday situations.
One quick note. Each of the techniques below assumes you’ve done a bit of prep work on your floral materials, i.e. you’ve cleaned the flowers, trimmed the ends of the stems straight and removed lower (or all) leaves and thorns.
Arrange the Perfect Vase of Roses with the Hybrid Matrix Technique
This technique will let you master the art of arranging roses. You’ll use the woody flower stems to create a matrix in the vase that will support each of the stems in balance as you place them where you want them to go.
- Examine the flower stems. Reserve the tallest, straightest stems for the centre of the vase.
- Insert your first flower into the vase, laying it diagonally. Working clockwise, insert the next stem underneath the first. Insert the third under the second, and so on, until you’ve gone around the whole rim of the vase.
- Follow the same procedure in the other direction. Place each rose stem underneath the previous one, working counter-clockwise until you get back to the starting position.
- By this point, you’ll have a strong and stable base with open spaces in between the stems. With the remaining flowers, you can start to fill in those spaces, working from the outside in, until you place the tallest flowers in the centre.
The beautiful thing about this method is that the sturdy base will keep the flowers in place without shifting. If you don’t like the look of it in the end, you can deconstruct it as much as necessary and try again.
Hand-Tie a Bouquet with a French Twist
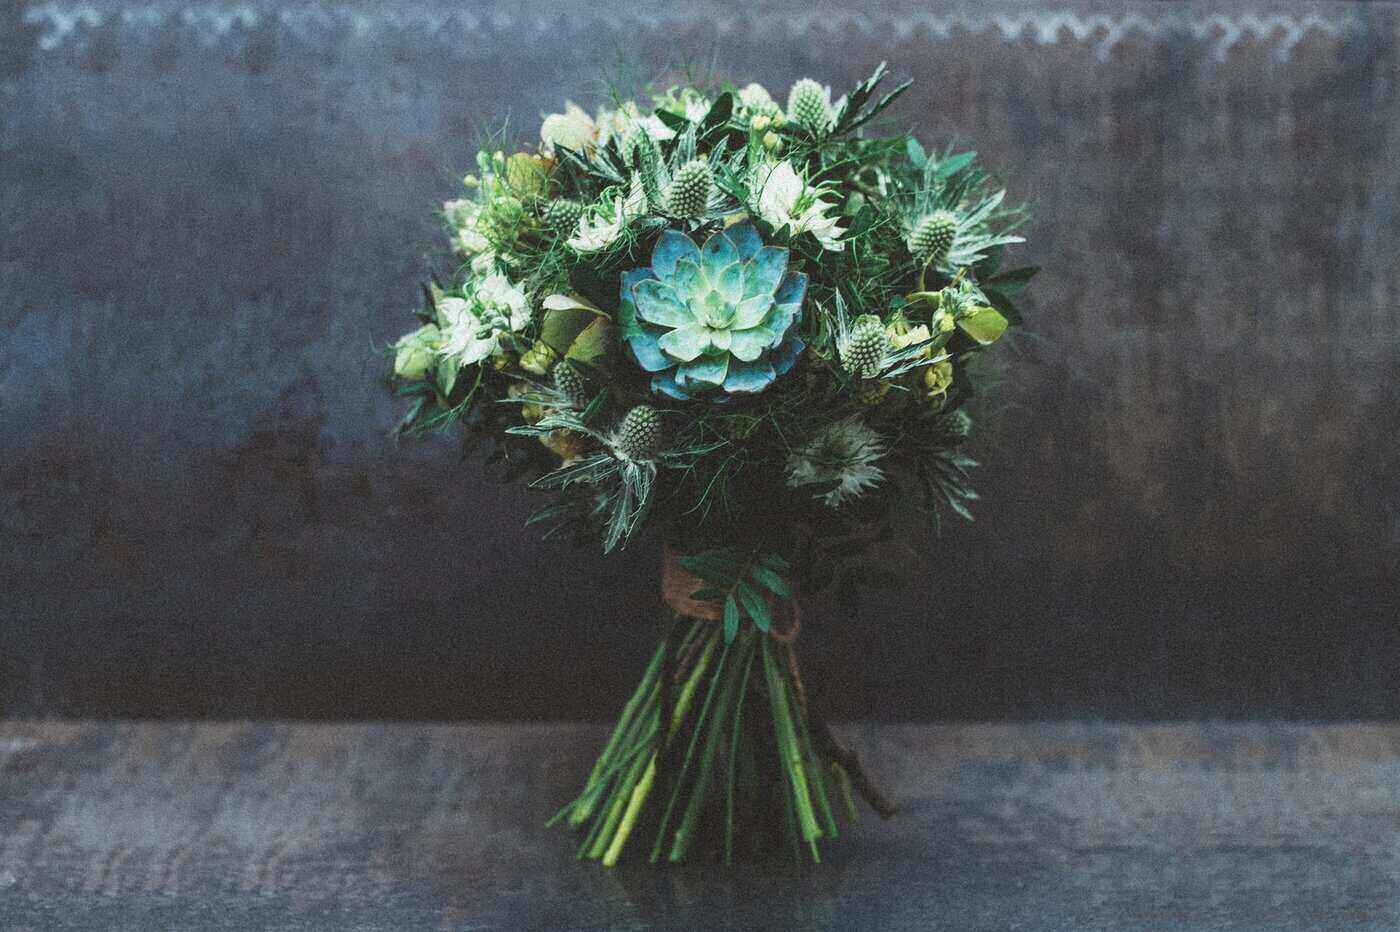
Everyone loves a good bouquet, and the French Twist technique makes it simple to combine flowers into something that looks really nice, even if you are not very good at making bouquets. Yet.
- Start with a straight flower with a strong stem. Hold it firmly but not tightly in front of you.
- Add a second flower to the left of the first, crossing the stem of the second flower over the first.
- Continue to add flowers, placing them to the left and crossing the stem over the previous flower. Keep turning the bouquet slightly to the left as you go to get a sense of the general shape of the bouquet from all sides.
- Once the bouquet has reached the right size, tie it with a length of twine, raffia or binding wire. Aim to tie it just above where your hand has been holding it. Wrap the twine around the bouquet a few times before knotting it. Keep tension on the twine, but don’t pull so tight you deform the stems.
- Create a collar of leaves to sit below the outer flowers. You can use a similar technique, placing each leaf slightly to the left of the one before and turning the bouquet until you’ve gone all the way around. Secure the collar with twine, raffia or binding wire, as well.
- Use a sharp pair of snips to trim the stems to the same length. You can trim them to whatever length you wish, but you want the bouquet to be able to (roughly) stand on its own if you place it on a table.
Cover the twine or binding wire with ribbon if you want a specific effect, or leave the raffia as it is for a more rustic aesthetic.
Keep a Flower in Place with Wiring
Learning to wire a flower makes arranging flowers much simpler. Wiring will give structure to weak stems, support to delicate stems and flexibility to rigid stems.
To do this, you’ll need some florist supplies like wire and florist tape. There are many gauges of florist wire, with higher gauges being thinner and lower being thicker. To wire a flower, you’re probably looking at somewhere between a 22 and 28 gauge wire, depending on how delicate the stem is.
There are a lot of methods for wiring flowers. One of the simplest is called piercing. You can use this if you have a droopy flower that won’t hold up in a vase, or if you’re getting ambitious and making wreaths or garlands. And if you are getting ambitious, good on you.
- Pierce the calyx of the flower with the wire. Pull the wire through until the excess is equal on both sides.
- Bend the ends of the wire down so that they’re flush with the stem.
- Use florist tape to secure and hide the wire. Pull the tape around the top of the wire once, then spiral downwards, keeping tension on the tape so it will adhere to itself smoothly. Once all the wire is covered, trim the tape and secure it.
For stronger support, you can try a technique called cross-piercing. After you’ve pierced the calyx with the first wire, use a second length of wire to pierce it again at right-angles. Then bend all four lengths of wire down and tape.
Another method is called hooking. It involves piercing a flower from the top, through its centre. In this method, you would make a small hook out of one end of your length of wire. You’ll pull the wire down until the hook catches, then spiral the length of wire around the stem and then tape.
And there you have it. Three floral design techniques that make it easy to level up your floristry skills and create something even more special out of the flowers you have at hand. I think you’ll agree—they’re beautiful and they deserve that.
Feature image: Tara Winstead; Image 1: Egor Myznik

